A workspace is a separate area for files, transcripts, conversations, and answers. Use one workspace for one project, client, topic, or personal area.
Choose a workspace strategy
Start with one clear workspace. For example:
- "Client A"
- "Research interviews"
- "Personal notes"
- "Product planning"
Avoid mixing unrelated work in the same workspace. Smaller workspaces produce more focused search results and make citations easier to review.
Create or choose a workspace
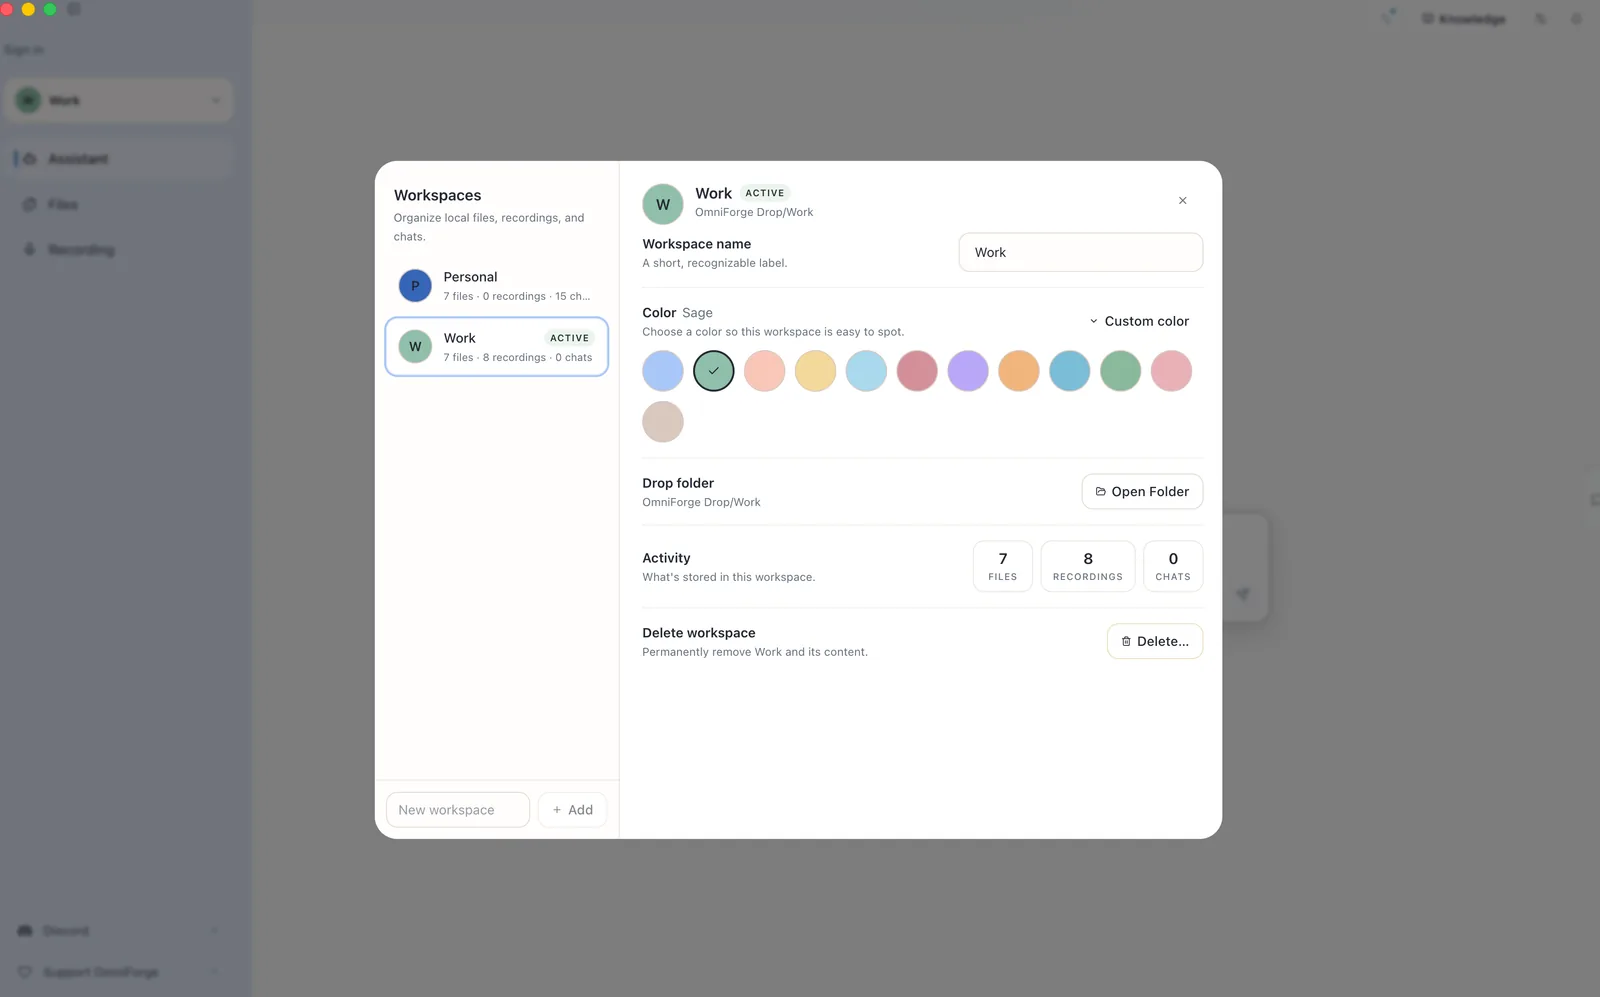
- Open the workspace control in OmniForge.
- Choose the current workspace or create a new one.
- Give the workspace a plain, recognizable name.
- Switch to that workspace before adding files or recording.
If you are on the Free plan, you may have a one-workspace limit. Upgrade from Plans & pricing when you need more.
Move carefully between workspaces
Before adding a file or recording a meeting, check the active workspace. If content lands in the wrong place, move or delete it before asking questions.
The Assistant answers from the selected workspace context, so the workspace choice matters.