Use a short test recording before relying on OmniForge in a real meeting. This confirms permissions, audio capture, and transcript review on your computer.
Start a test recording
- Open Transcription.
- Allow microphone or system audio permissions if prompted.
- Start recording.
- Speak for one or two minutes.
- Stop recording.
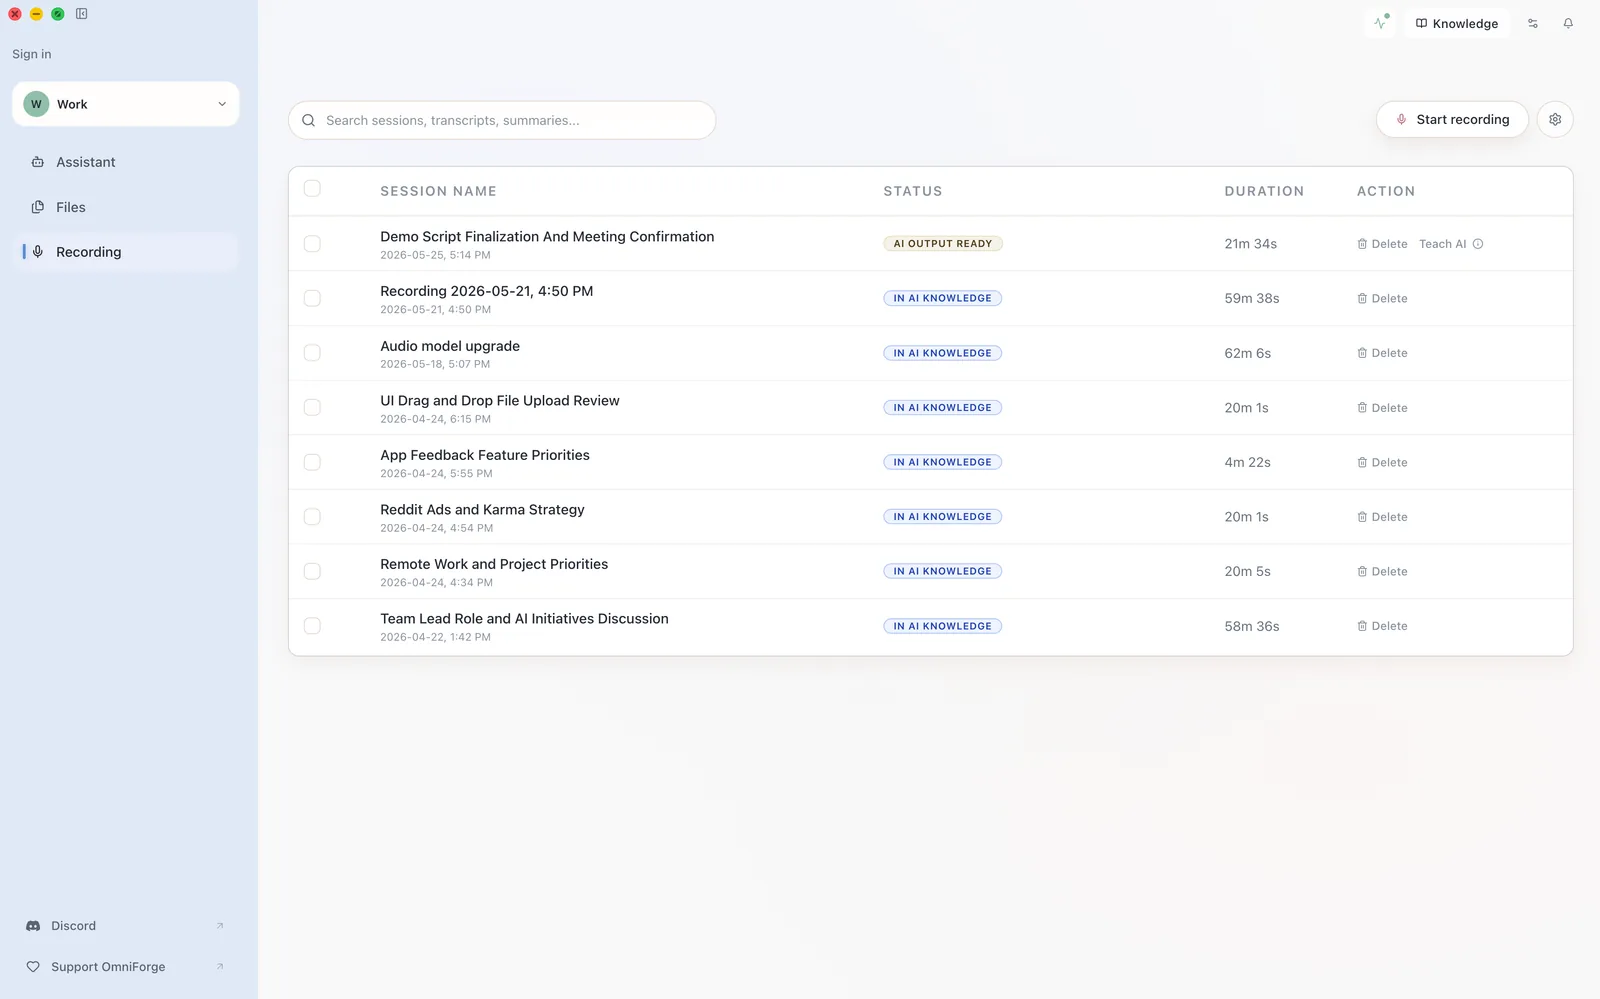
The transcript may continue processing briefly after you stop. Keep OmniForge open until the session shows as Complete.
Review the transcript
Open the completed session and skim the transcript. Fix obvious title or content issues before adding it to your knowledge base.
You do not need a perfect transcript for search, but names, dates, and decisions should be clear enough to trust.
Make it searchable
When the transcript shows as Complete, use the action to teach OmniForge or add it to the knowledge base. After indexing finishes, ask the Assistant a question about the recording.
Example:
What decisions did we make in my latest test recording?